 Route Studio




One of my favorite parts of Route Studio is that the data is not only sitting quietly behind the route generator. A lot of it is available as overlays, which means you can look at a map and very quickly find the right place to start a route.
That matters because route planning is usually way too abstract. You pick points, drag lines around, maybe look at a satellite layer, and then you still have to hope the road feels the way it looks. The overlays make the map much more useful. They help you choose the area first, then generate the route after you already know what kind of riding is hiding there.
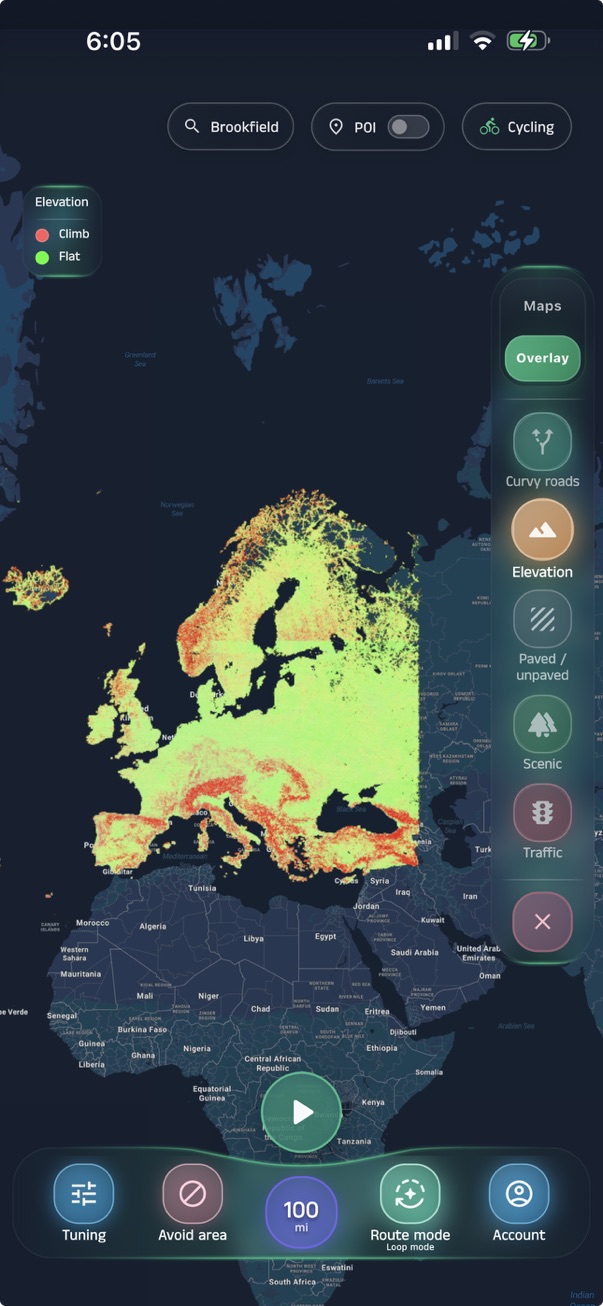
If you want a hilly route, you can glance at the elevation overlay and immediately see where the climbs are clustered. If you want a flatter route, you can use the same layer in reverse and avoid the areas that are going to punish your legs all day. If you want gravel, low traffic, scenery, or curvy roads, the idea is the same: find the good area first, then drop a waypoint or Route Zone there and let the engine go to work.
The gravel problem is where this really started
A lot of the early work behind Route Studio started with a pretty simple problem: we got gravel bikes, wanted to find gravel roads, and realized the data was nowhere near as complete as it needed to be.
Wisconsin in particular is funny that way. There are gravel roads, but there are not endless obvious grids of them everywhere. If you are trying to build a good gravel ride, you need to know exactly where the surface changes. If you are trying to build a road ride, you need the same thing for the opposite reason.
If you have ever tried to make a 100 or 200 mile route on a road bike or triathlon bike, you know how much one surprise gravel section can ruin the day. It might only be a mile or two, but if it shows up in the wrong place, on the wrong tires, at the wrong speed, it suddenly becomes the thing you remember.
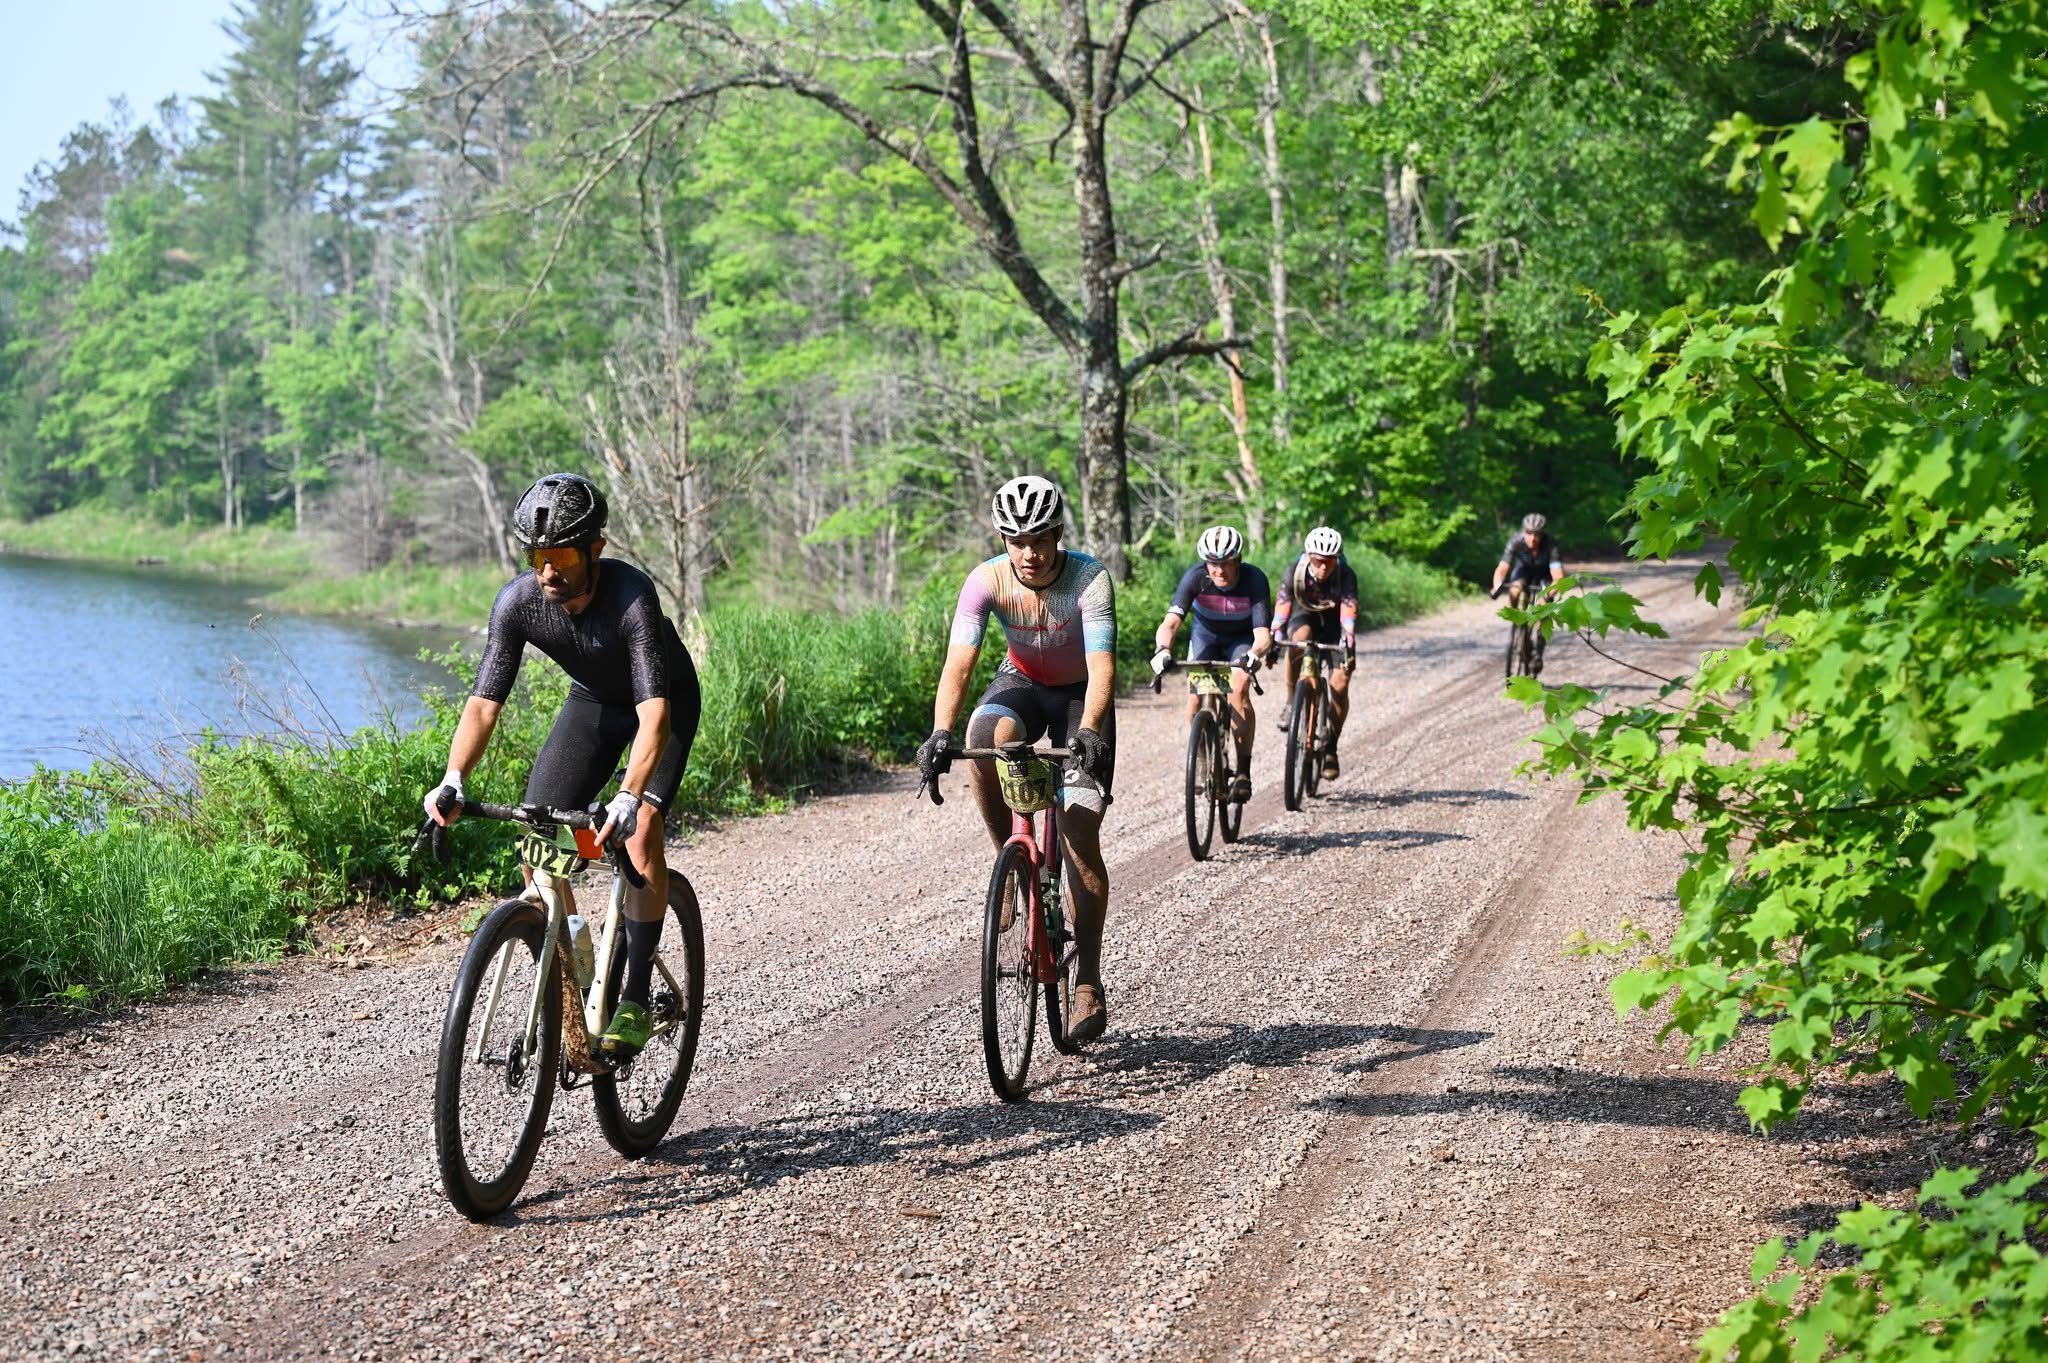
Gravel is only fun when it is intentional. Route Studio tries to make that choice visible before the route is built.
What the overlays help you find
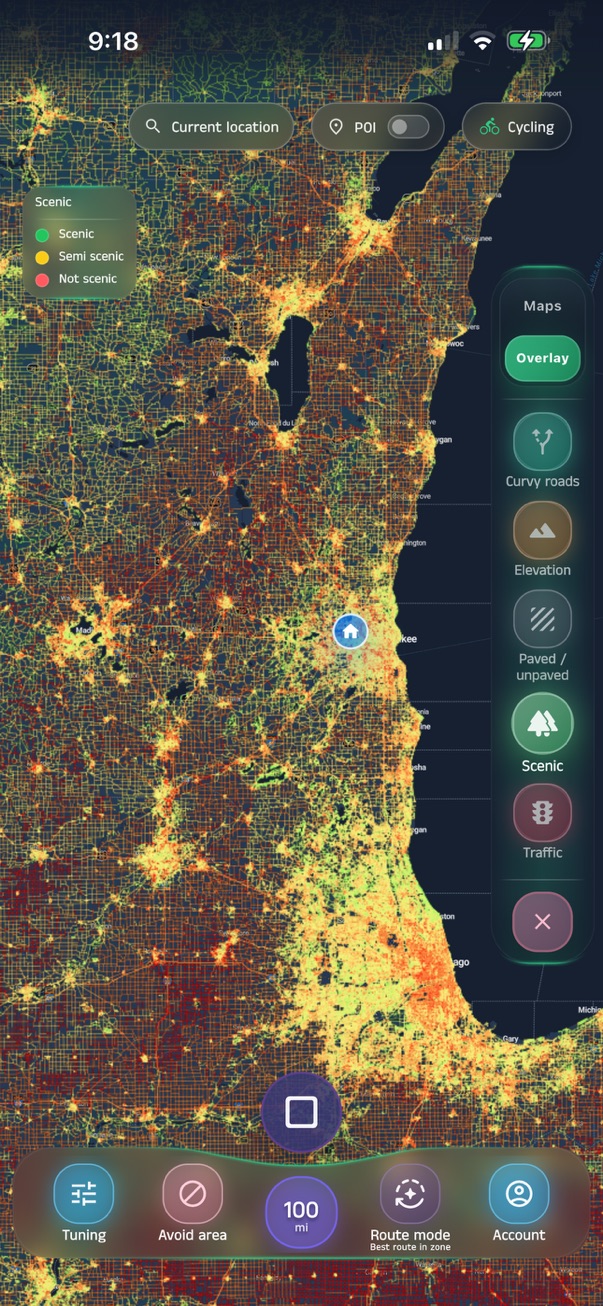
The surface overlay is the one that kicked off a lot of this, but it is not the only useful layer. Route Studio has several overlays that help you read an area before you generate a route, tune one, or decide where you want to ride next.
Find the area first, then generate
The reason I like exposing these layers is that they make route generation feel much more intentional. You are not just asking the app to make something and hoping it understands you. You can look at the same ingredients and say, okay, this is where the hills are, this is where the gravel starts, this part looks calm, that part is probably too traffic-heavy.
For example, say you want a very hilly route. Within about a two-second glance at the elevation overlay, you can usually tell where the climbs are concentrated. From there, you can drop a Route Zone over that area, increase the elevation or hill-climb preference, and ask Route Studio to search for the best possible route inside that zone.
If you want a gravelly route, the surface overlay is a great indicator of where to start. You can pan around, find the dense pockets of unpaved roads, drop a waypoint or Route Zone there, and generate from an area that already has the right ingredients. If you want the opposite, like a fast road or triathlon-bike route, that same layer helps you stay away from the rough stuff.
Traffic works the same way. If you are trying to make a route in a calmer part of your country, state, province, or region, the traffic overlay gives you a fast way to scout for places that are more likely to ride quietly. And if you love flat roads, the elevation overlay can help you avoid the hilly sections instead of accidentally designing a route through them.
The route engine still does the heavy lifting
The overlays are useful on their own, but they also explain why Route Studio can make routes that feel so much more deliberate. The app is not just looking at a distance target and drawing a loop. It is weighing surface, traffic, scenery, elevation, road shape, and local road structure while it searches.
That is the difference between a route that is technically valid and a route that feels like it was made with taste. The overlays are a window into that. You can see why a quiet area is worth targeting. You can see why a hill corridor might make the route better. You can see where the gravel actually is before the route ever gets generated.
Another reason the subscription is useful
All of these overlays are available through the Route Studio app subscription, and I think that is a genuinely useful part of the product. Even if you are not generating a route in that exact moment, the data is valuable. It lets you scout. It lets you compare areas. It lets you find the best starting point for the kind of ride you are actually trying to make.
That is really the larger idea behind Route Studio. The app should not just draw a line. It should help you understand where the good route is likely to begin, why that area makes sense, and how to turn that starting point into something worth riding.